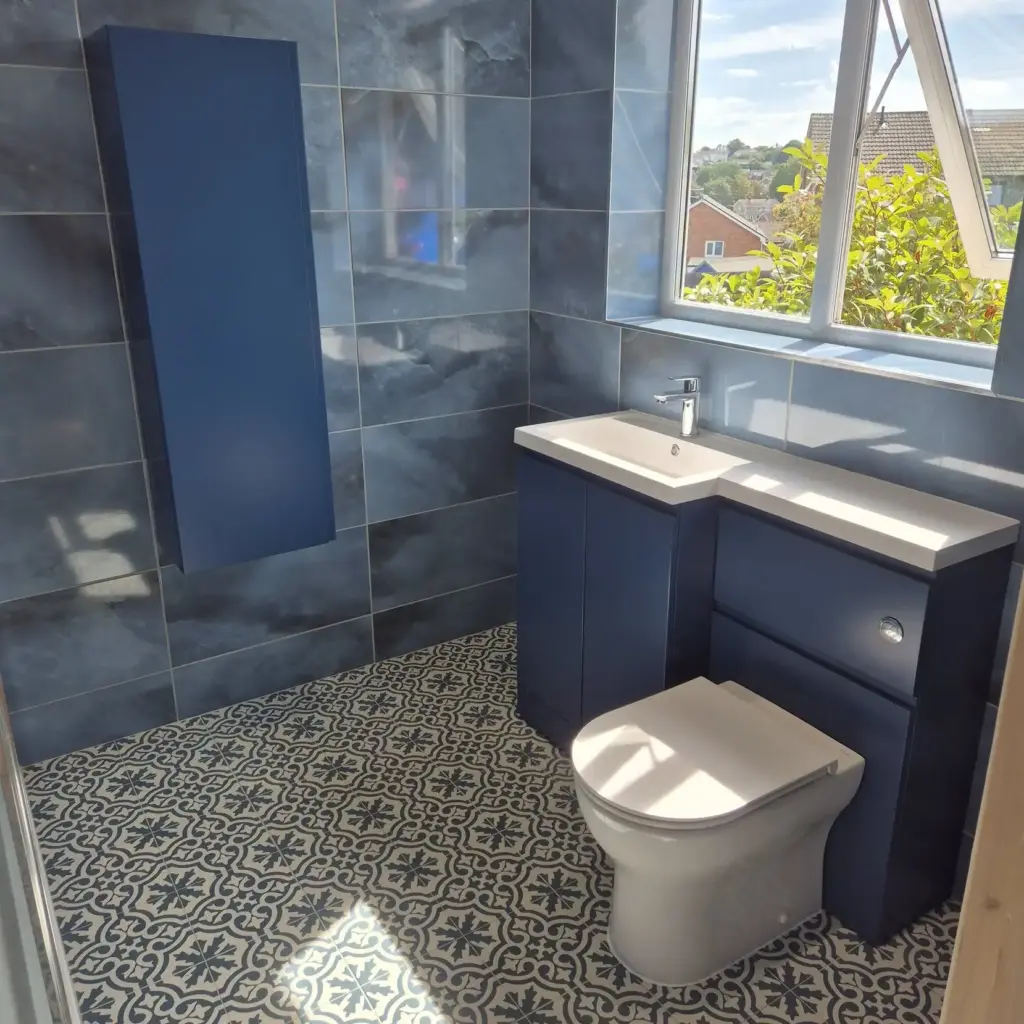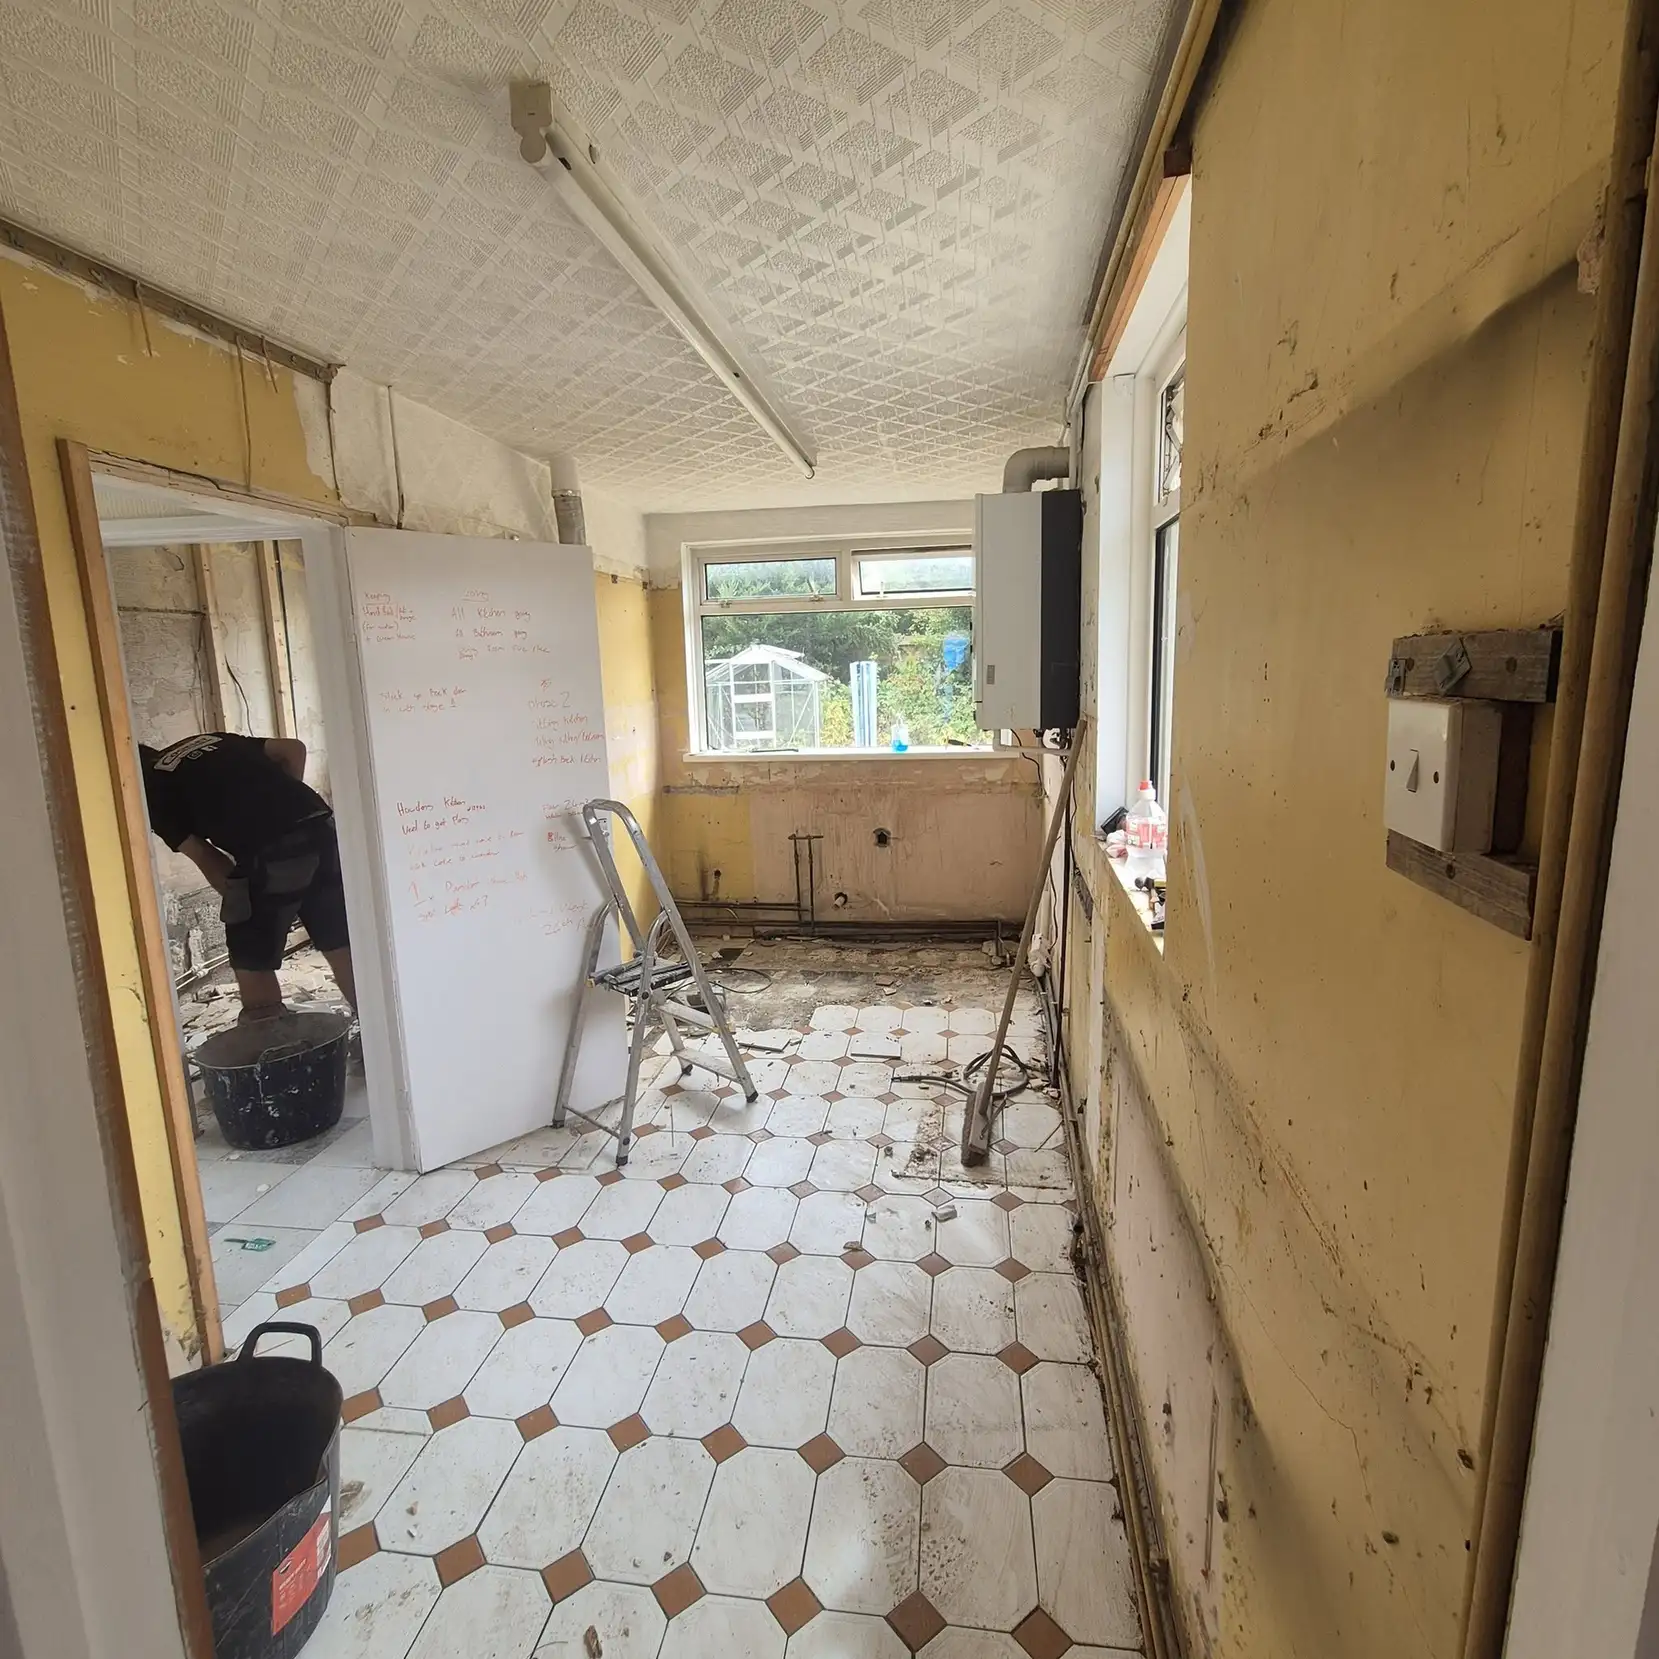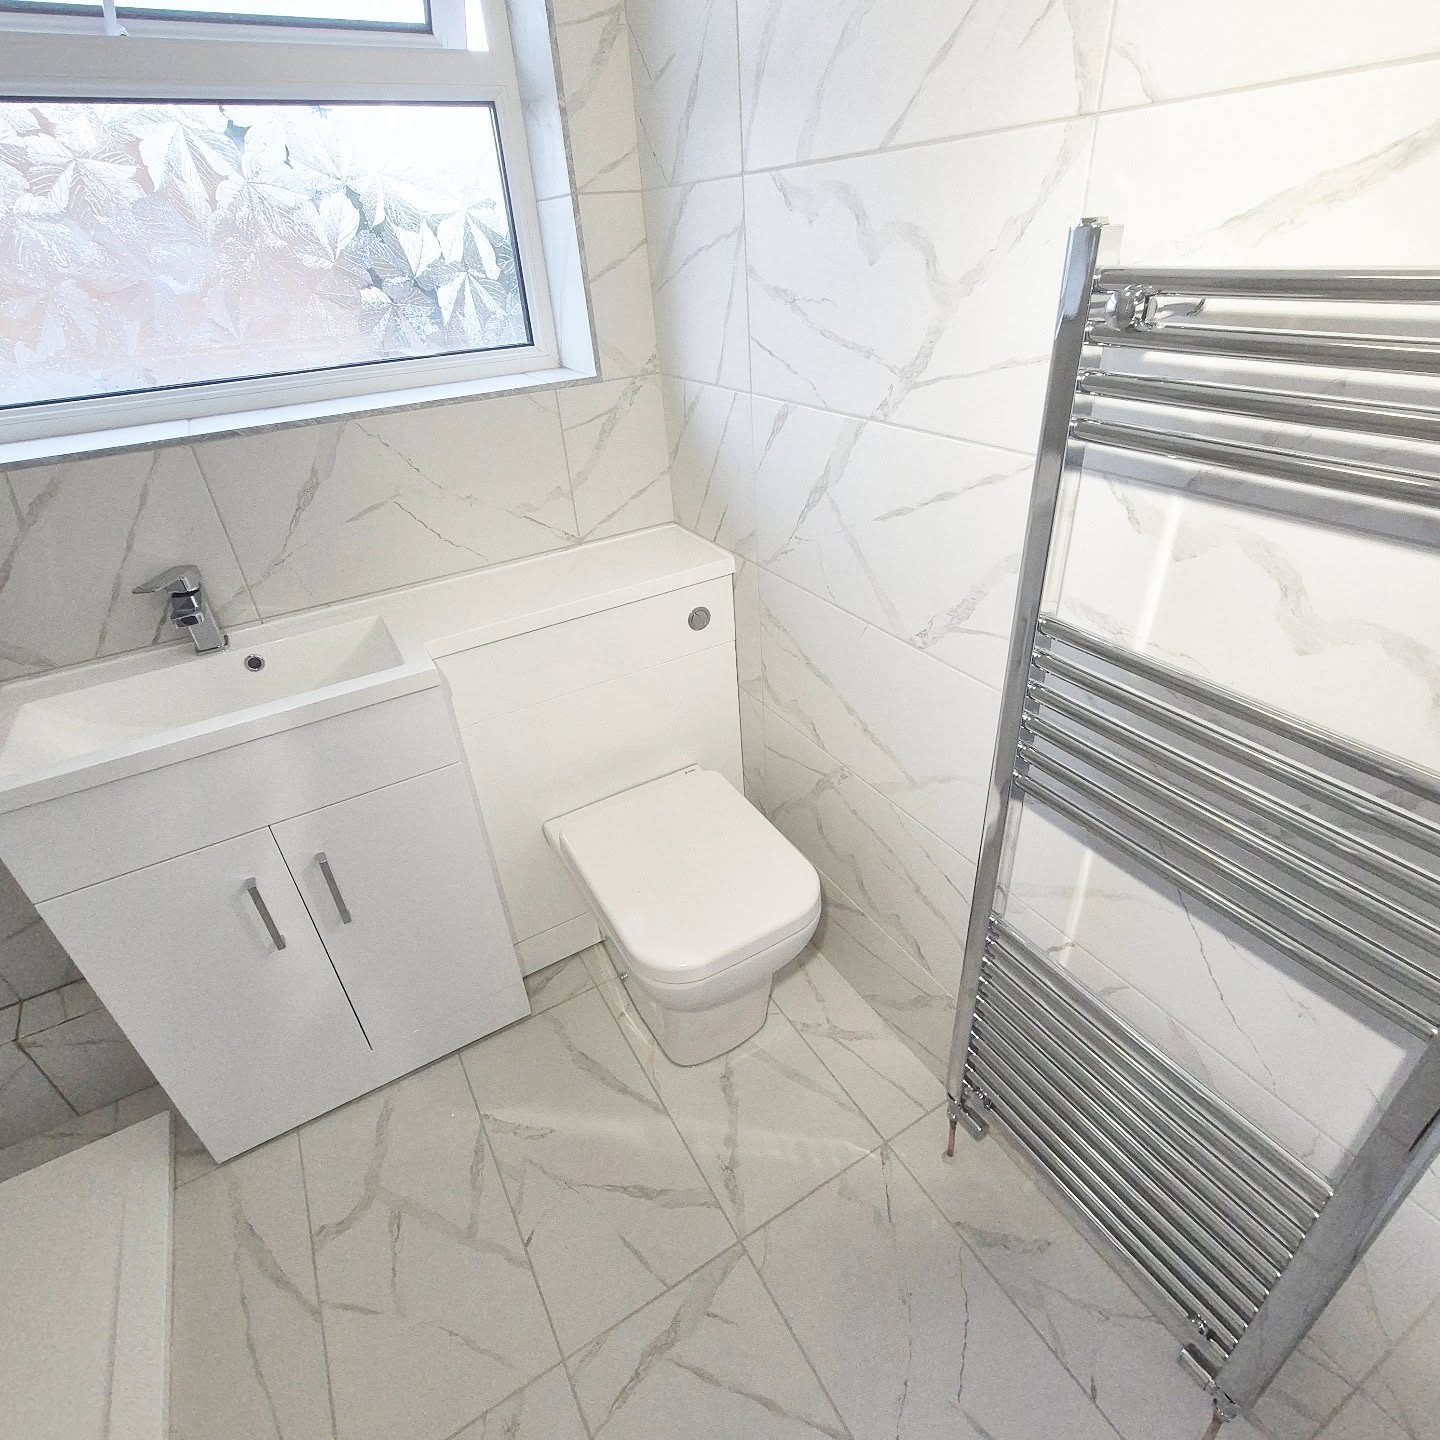
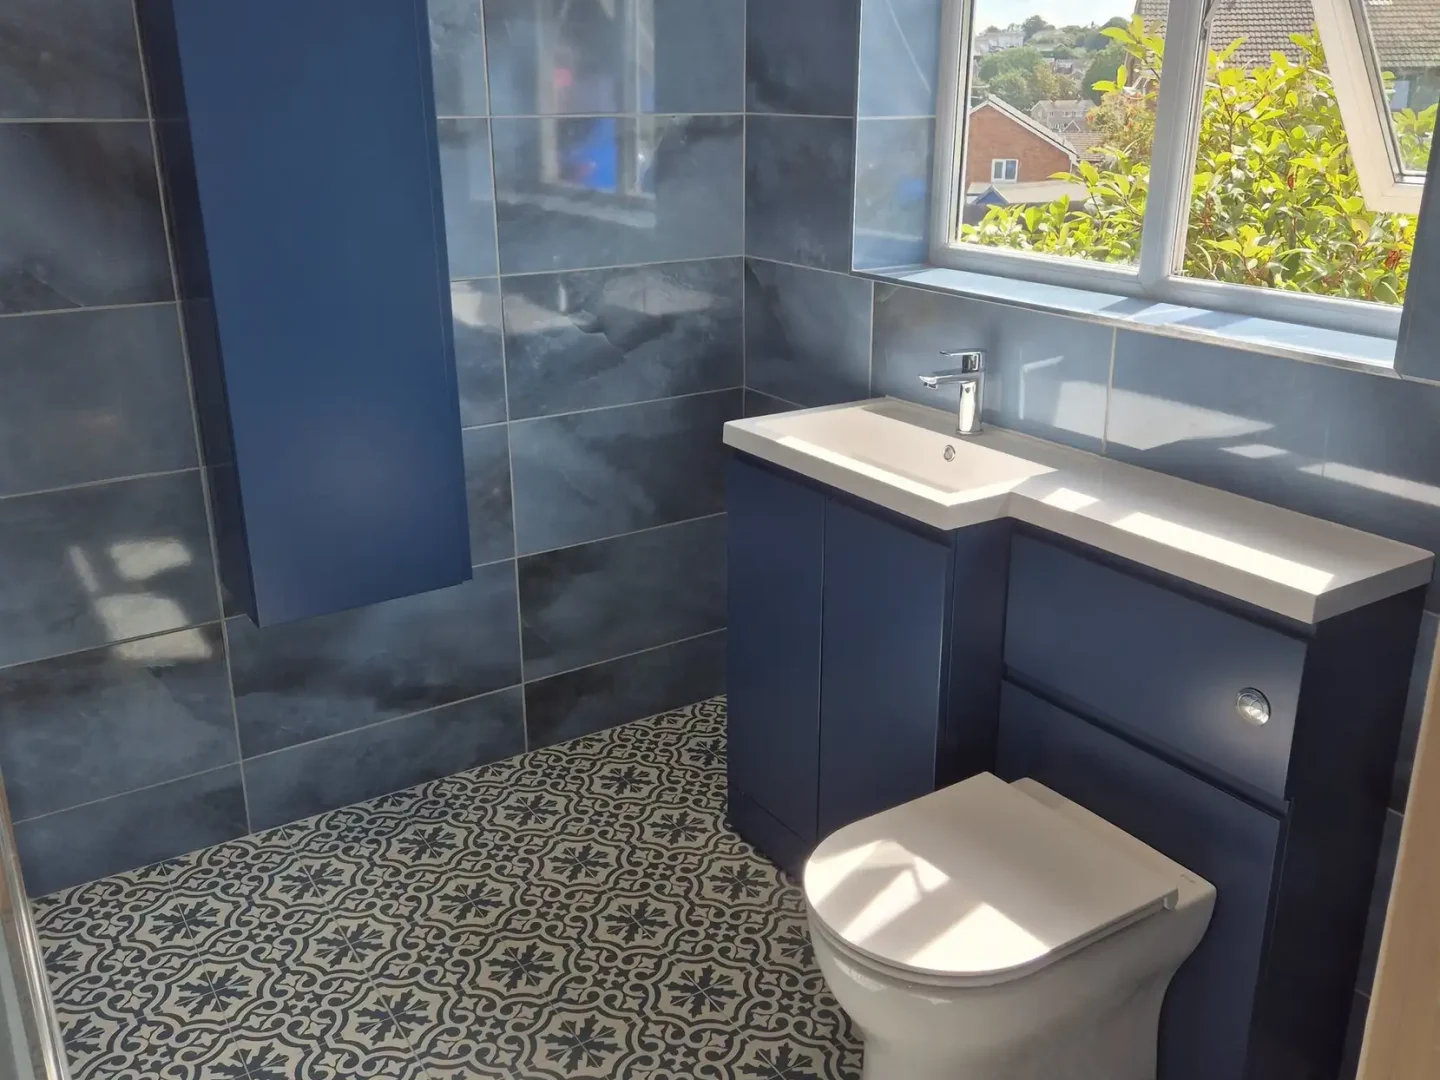
This walk in shower bathroom renovation Rhoose project brings together blue-grey wall tiles, a cream-and-blue patterned floor and a matching blue vanity. The finished bathroom has a white rectangular shower tray, a clear glass screen and chrome fittings. Photographs from earlier stages show the wall preparation and tile fitting behind the completed look.
The project record does not show the original bathroom suite, so this case study follows the work that can be documented rather than assuming the room’s previous condition.
The Challenge
Bringing Bold Tiles and Bathroom Fittings Together
The project combines several noticeable finishes within one room. Blue-grey marble-effect tiles cover the shower walls, a cream-and-blue pattern brings detail to the floor, and the vanity picks up the blue colour.
The practical challenge was preparing the surfaces and fitting positions so the shower, tiling and bathroom furniture could come together as a coherent finished room.
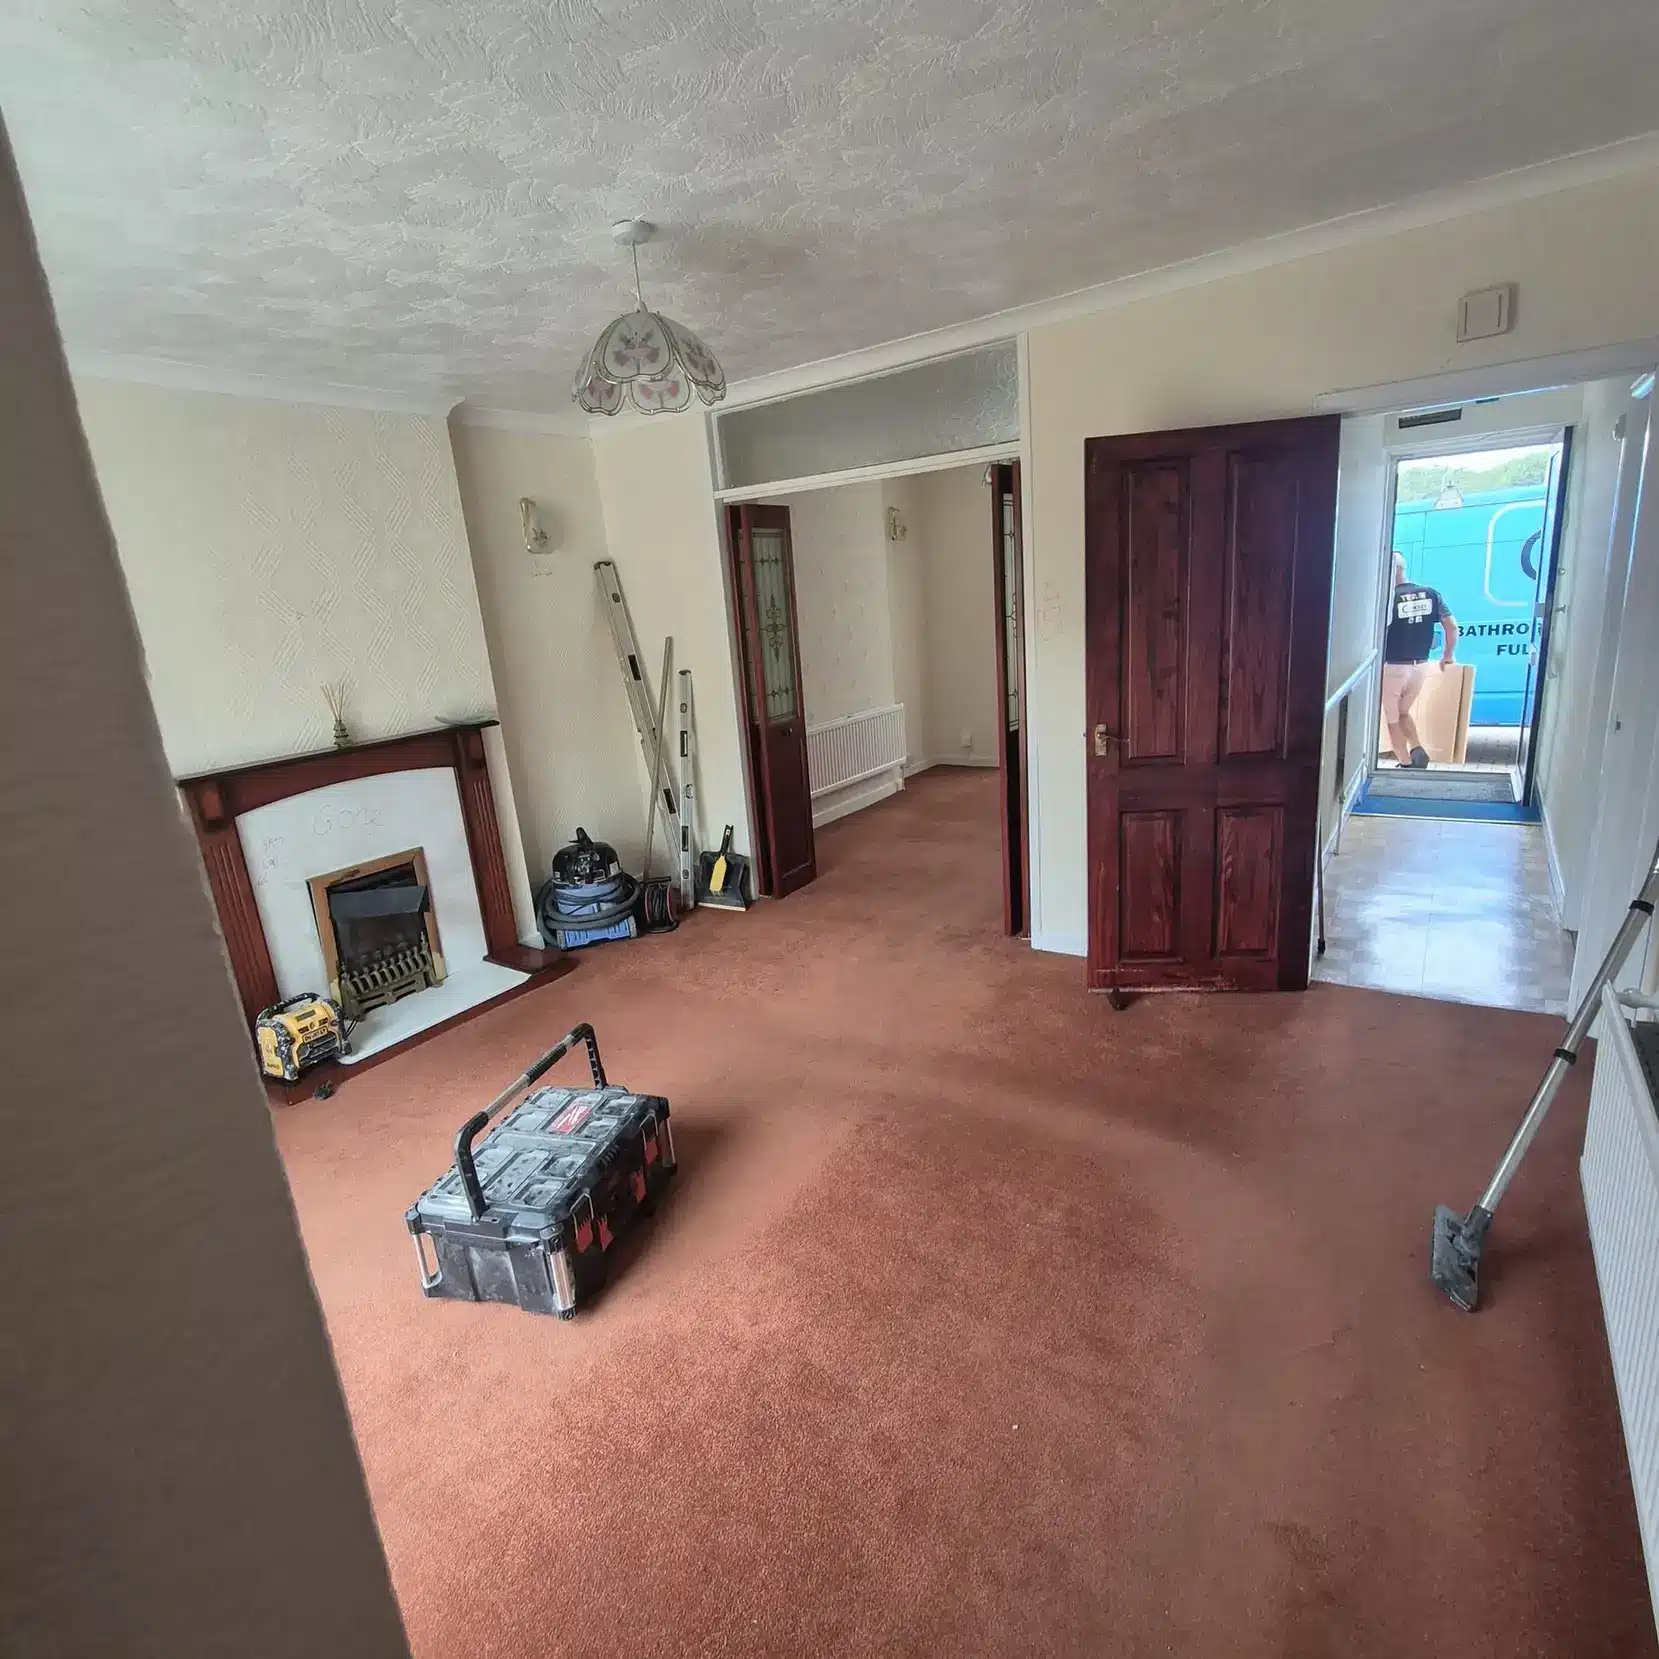
The available photographs begin during preparation. They do not establish that a bath was removed, that there was water damage or that the bathroom had an accessibility problem. None of those claims is needed to explain the project.

Assessment and Preparation
Getting the Walls Ready Before Tiling
The preparation photographs show tile backer boards fitted to the shower walls, with joints taped and pipe outlets positioned through the boarding.
This stage established the backing for the blue wall tiles and allowed the shower fitting positions to be considered before the surfaces were covered.
The exact board product and waterproofing specification are not identified in the project record. What the images do show is the transition from prepared backing to tiled walls.
This is the sort of coordinated preparation involved in wider bathroom renovations, where plumbing positions, wall finishes and fittings need to work together.
The Work Carried Out
Fitting the Blue Wall Tiles
The installation photographs show blue-grey wall tiles being fitted around the shower area. Tile levelling clips are visible during fitting, helping position adjoining tiles as the tiled surface takes shape.
In the completed bathroom, the blue-grey finish extends up the shower walls, creating a continuous backdrop for the chrome fittings and glass screen.
Installing the Tray and Walk-In Shower Screen
A white rectangular shower tray defines the showering area. A clear, fixed glass panel separates it from the rest of the bathroom without enclosing the space behind a conventional shower door.
The finished photographs also show chrome shower fittings and a grab rail fixed to the tiled wall. The rail is part of the visible installation, but the customer’s reason for choosing it has not been recorded.
This is a tray-based walk-in shower, not a wet room. The patterned bathroom floor sits outside the tray rather than forming the shower’s drainage surface.
If you are comparing layouts, the Mira shower tray buying and fitting guide explains why tray dimensions and drainage arrangements matter. It is general guidance, not evidence that a Mira product was installed here.

Adding the Patterned Floor and Matching Vanity
Cream-and-blue patterned tiles complete the main bathroom floor, bringing contrast to the larger blue-grey wall tiles.
The finished room also includes a blue vanity unit with a white basin and a toilet. A further blue wall-mounted feature appears beside the fittings, but its function is not confirmed, so it is not identified as a particular product.
The combination of the patterned floor, matching vanity and restrained white fittings gives the completed bathroom a consistent appearance without making every surface the same colour.

The Finished Result
A Blue-Tiled Bathroom with a Clear Walk-In Shower
The completed photographs show the shower tray, fixed glazed screen, chrome fittings, blue-grey wall tiles and patterned floor together in one bathroom.
The vanity coordinates with the wall colour, while the white basin and shower tray provide contrast. The existing window remains visible in the finished room.
The documented result is a completed bathroom installation. There is no verified project duration, product brand, customer testimonial or evidence of a bath being removed, so those details have not been added.

Walk In Shower Bathroom Renovation Rhoose Project Photographs
The project photographs are particularly useful because they cover more than the finished appearance. They show the wall backing and taped joints, tile levelling clips during fitting, and the installed shower and bathroom furnishings.
See the original Cooksey Renovation bathroom project, or explore further projects and case studies to see other documented renovations.
Planning a Walk-In Shower for Your Bathroom?
Choose the Tray, Screen and Finishes Around Your Room
This walk in shower bathroom renovation Rhoose project shows one way a tray, fixed screen, coloured tiles and coordinated furniture can work together. Your own bathroom may need a different layout depending on the available space and plumbing.
Cooksey Renovation also undertakes walk-in shower installation as part of its bathroom work. Lance Cooksey begins with a site visit to discuss the room, proposed fittings and scope, followed by a written quotation for the agreed work.
Check our areas we serve or contact Cooksey Renovation to arrange a visit and discuss your plans.